
How%20to%20Make%20Network%20Cables PowerPoint PPT Presentation
Title: How%20to%20Make%20Network%20Cables
1
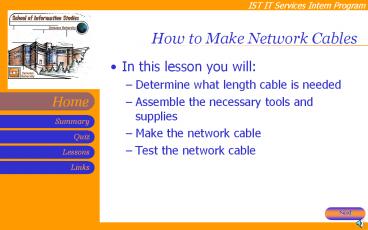
How to Make Network Cables
- In this lesson you will
- Determine what length cable is needed
- Assemble the necessary tools and supplies
- Make the network cable
- Test the network cable
2
Determine Cable Length
- Contact the user making the request
- Measure the distance between the wall or floor
network port and the users computer - Make note of this length in the HelpDesk log
3
Tools and Supplies
- You will need
- network cable (category 5)
- crimping tool kit
- RJ45 clips
- If any of these supplies are not in stock, notify
the IT Director to place an order - Then notify the user of expected time of
completion
4
Make Network Cable
- Measure the length of cable needed
- Use the stripping tool to strip a small amount of
casing away from the wires - Please note that only the green pair needs to be
separated it is not necessary for the other
colors to be separated
5
Make Cable (page 2)
- Assemble the colored wires in the following
pattern for a standard port/hub to computer
connection - White orange, orange, white green, blue, white
blue, green, white brown, brown
6
Make Cable (page 3)
- Note that pins 4,5,7, and 8 and the blue and
brown pairs are not used in this standard - These pins and wires are not used or required to
implement 100BASE duplexing - Once you have assembled the wires in that order,
gently slide them into the RJ45 clip
7
Make Cable (page 4)
- Note that the wires must be fully inserted into
the RJ45 clip so that you can actually see the
copper from the front of the clip - This means that the copper of the wires is
connecting with the pins of the RJ45 clip
successfully - Insert the completed RJ45 clip into the crimping
tool and fully clamp down to crimp the RJ45 clip
to the wire
8
Test Cable
- Repeat the previous process for both ends of the
cable - Once you have fashioned a RJ45 clip to each end
you can test the cable - Insert the cable into a properly working computer
and port or network hub, or - Test using the network cable tester in the tool
kit
9
Summary of Lesson
- You should now be able to
- Determine what length cable is needed
- Assemble the necessary tools and supplies
- Make the network cable
- Test the network cable
10
Evaluation of Lesson
- Please complete the following quiz
What Have I Learned?
11
Additional Lessons
- Using the HelpDesk program
- How to set up a new system
- Re-imaging a computer
- Completing an upgrade
- Completing preventive maintenance updates
- Configuring a laptop for wireless access
12
Useful Links
- IT Services web page
- IST web page
- CMS web page
- FCMS web page
- Syracuse University web page
- Dell Premier Support
Recommended
