
Create a Backup of your QuickBooks Desktop Company File PowerPoint PPT Presentation
Title: Create a Backup of your QuickBooks Desktop Company File
1
How to Create a Backup of your QuickBooks Desktop
Company File?
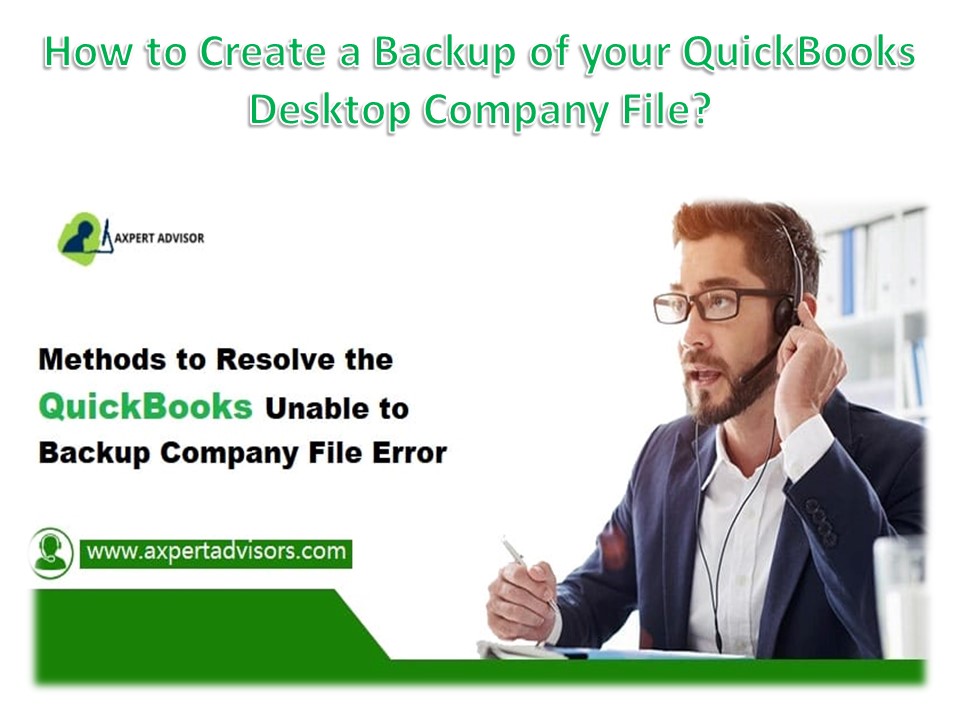
2
- In this blog, we will discuss how to create the
Backup of your QuickBooks Desktop company file in
QuickBooks. QuickBooks Users search the most
straightforward methods on search engines. Then,
we explain all the valuable points. - Practical Solutions to Create Backup of your
QuickBooks Desktop Company File - Step 1 Set up QuickBooks Automatic Backup
- Change to the single-user mode by selecting it
from the File Menu. - Screenshot when switching to single-user mode
- Select Save Copy or backup service, and then make
a local backup. - Screenshot, Backup Company choice
- Once you have decided on the backup copy, click
Next. - Choose Options, and then click Next to
configure the backup defaults. - To identify the files, you must search for and
record the date and time of file backups. - Additionally, you may establish a cap on the
total number of backups produced for each
business by checking the appropriate box and
entering a number. - Schedule Unattended Backup
- Go to the File menu and select Back Up.
- On the Schedule Backup tab, click.
3
- In the Schedule Backup window, make the
appropriate selections. - To save the updated schedule, click OK.
- Step 2 Set Up QuickBooks Schedule Backups
- Click on Save Copy or Backup after opening the
file. When you're finished, a backup wizard will
open. - Choose Backup copy, and then select the Next
tab. - Select the options to establish the default
backup settings, and then click Next. - The next step is to select Only Schedule future
backups and then select Next. - schedule backup - image
- Now navigate to the "Backup on a Schedule"
section and click it. - The schedule backup you are creating has to have
a description. - Additionally, you must now search for the
directories you want to save your backup copies. - Check the box next to "Number of backup copies to
keep" and then type a number. - Step 3 Setting up QuickBooks Backup Reminders
- Select Save Copy or Backup from the File menu.
- After choosing a backup copy, click the Next
button.
4
- After that, you must select the option to "Remind
me to backup when closing data every time" and
then enter the appropriate number in the form. - Once finished, select Add backup time and date to
the file name box and click OK. - Step 4 Backup Your Company File Manually
- Select Switch to single-user mode from the file
menu. - On-screen screenshot of the single-user mode
switch - Return to the file menu, and then click the
backup company. Then, the option to establish a
local backup should be chosen. - Choose local backup, then click the Next tab.
- Select the browse option and a location to save
the backup in the local backup-only section. - It is advised to use the settings in the online
and local backup areas to schedule backup
reminders. - Step 5 Adjusting the backup settings
- Click over the backup provider while selecting
the file. - Next, select the option to build a local backup.
- Users can follow steps according to your needs
- Adjust as necessary, and then press the OK
button. - The QuickBooks company file can now be restored
using your backup company file. The file name of
this file ends with the extension.qbb.
5
- Step 6 Use the Express tart method
- Select express start by clicking.
- Screenshot of Express Start
- Fill up the necessary fields during QuickBooks
setup. - Later, select "help me select" to view a
description of each business category.
Additionally, you can choose the industry for QB
to construct its chart of accounts. - To start, click on it.
- Once you make the company file, create a chart of
accounts, a list of your clients, and a list of
your services. By selecting the start working
option, such a step can also be carried out
later. - Bottom line
- We hope this blog provides information according
to your needs. However, users need help
understanding the methods and need instant
support. They will guide you and provide to
create the backup for your QuickBooks. QuickBooks
error support team is available for assistance
24/7 at 1-800-615-2347.
Recommended
