
HP Laserjet 200 Color m251nw Wireless Setup PowerPoint PPT Presentation
Title: HP Laserjet 200 Color m251nw Wireless Setup
1
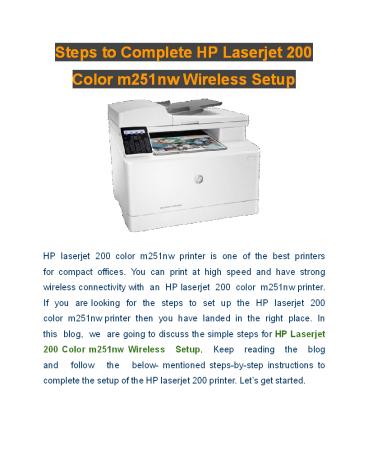
Steps to Complete HP Laserjet 200
Color m251nw Wireless Setup
HP laserjet 200 color m251nw printer is
one of the best printers for compact
offices. You can print at high speed and have
strong wireless connectivity with an HP
laserjet 200 color m251nw printer. If you
are looking for the steps to set up the
HP laserjet 200 color m251nw printer then
you have landed in the right place. In
this blog, we are going to discuss the simple
steps for HP Laserjet 200 Color m251nw Wireless
Setup. Keep reading the blog and
follow the below- mentioned steps-by-step
instructions to complete the setup of the HP
laserjet 200 printer. Lets get started.
2
The basic setup procedure for HP laserjet 200 colo
r
m251nw printer
- Follow the below steps to complete the
basic setup procedure of HP laserjet 200
color m251nw printer - First of all, remove the HP laserjet 200 color
m251nw printer from the box and place it on a
dust-free surface. - Now, remove the packing material and
protective tapes. Make sure that there is a
protective film over the control panel. - Then, open the ink cartridge door and pull
out the ink cartridges drawer. - Remove all the cardboards from the drawer
and remove the orange - tab from the left side of the ink cartridge.
- After removing all the tapes from the ink
cartridges, push the ink cartridge drawer back
into the printer and close the ink cartridge
door. - Now, open the jam access door from the
rear of the printer and
remove the orange packing strip.
3
- Next, pull the paper input tray and place the
papers on it with the print side facing up. - Thereafter, adjust the paper width and then
push the paper tray inside the printer. - You can adjust the paper settings in the
control panel according to - your preference.
- Then, connect the printer to the power outlet
through a power cord. - Finally, you can turn on your printer and set the
preferred settings.
Steps to setup the HP laserjet 200 color
m251nw printer
through WPS
- If your network router supports the WPS push mode
then you can set up your HP laserjet 200
color m251nw printer through WPS push
methods - First of all, you need to move your
printer to the vicinity of the
network router.
4
- Then, go to the control panel on your
printer and click on the wireless icon. - Now, select the WiFi protected setup
option from the wireless - settings menu and then click on the push
button, followed by, click on the start button. - Thereafter, you need to locate the WPS button on
the router. - Next, press and hold the WPS button on
the router for about 3 seconds until the
pairing starts.
Automated setup wizard for HP laserjet 200
color m251nw
printer
- First of all, go to the control panel on the HP
printer and click on the wireless icon. - After that, go to the wireless settings, select
the wireless setup wizard option. - Now, select your SSID network and then enter the
WEP or WPA
key.
5
Hopefully, by following the above steps you
can easily complete the HP Laserjet 200 Color
m251nw Wireless Setup process. Still, if you are
facing any issues then feel free to contact us.
Recommended
