
How to Assemble Total Gym PowerPoint PPT Presentation
Title: How to Assemble Total Gym
1
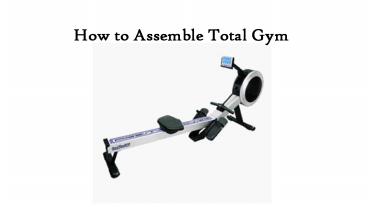
How to Assemble Total Gym
2
Over time, users began to notice that the Total
Gym aided in weight loss and increased their
strength. The inventors realized that the machine
was beneficial to everyone and began marketing it
to the general public for use in their home gyms.
Assembly of all Total Gym models is a relatively
easy process.
3
1. Place the gym on the floor with the glideboard
facing up. Slide the glideboard towards the front
crossbar. Lift the gym by holding the top rails
and spreading it open at the bottom. It should be
about 12 inches apart and should rest on the
front and back crossbars.
2. Push the handles to the sides and unfold the
gym. Avoid placing your hands or fingers near the
pulley. Hold the center of the glideboard at the
top and slowly roll the rear rollers out until
the gym is flat on the floor. Support the frame
to avoid dropping the unit and causing personal
injury.
4
3. Remove the safety pin hitch from the bottom of
the vertical column and remove the plastic ties.
Pull the spring loaded pin knob. It is located on
the left rail. This will release the spring
loaded pin. Grab the vertical column while
holding the pin and pull the column upright.
Release the pin. It should click into place.
4. Place one foot on the back crossbar to hold
the gym on the floor. Grab the right or left rail
and pull the quick release pin. Slide the rails
up the vertical column and release the pin. Turn
the knob to the right to tighten.
5
5. Insert the straight safety pin into the hole
on the vertical column below the height
adjustment bracket. The pin is located on the
height adjustment tube. 6. Assemble the Pilates
bar on the other end of the gym. Insert it in the
front crossbar. Check to make sure that it is
fully inserted. 7. Install the stopper in the
bottom of the vertical column. It is located with
the miscellaneous accessories. Unscrew and remove
the nut on the stopper and insert the stopper in
the hole in the center of the back crossbar.
Replace the screw and tighten the nut with an
Allen wrench.
6
8. Remove the cap from the vertical column and
insert the flip chart holder base. Place the flip
chart on the base. The Total Gym is now ready for
use. Attach the accessories as needed for various
exercises.
Photo Credit http//www.totaltrainer.com.au/
Source http//www.ehow.com/how_5877338_assemble-to
tal-gym.html
Recommended
