
Voice Recorded Lessons using a SmartBoard - PowerPoint PPT Presentation
1 / 5
Title:
Voice Recorded Lessons using a SmartBoard
Description:
Voice Recorded Lessons using a SmartBoard Setting up the Web link Saving your Smart Board Presentation Compressing Video Files Linking Files to the Web – PowerPoint PPT presentation
Number of Views:40
Avg rating:3.0/5.0
Title: Voice Recorded Lessons using a SmartBoard
1
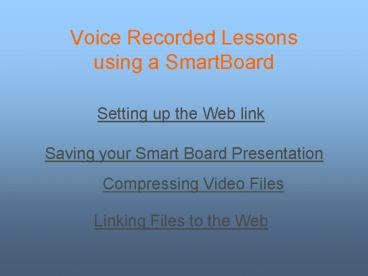
Voice Recorded Lessonsusing a SmartBoard
Setting up the Web link
Saving your Smart Board Presentation
Compressing Video Files
Linking Files to the Web
2
Setting up the Web link
1. Contact your network administrator for web
space. 2. Create home page on web. The
following is my web page. http//www.hlschool.org/
tluciusweb/tlucius_files/frame.htm 3. Create
folders on web for all classes. I have some help
sites on my page along with classroom notes.
These notes are for students who may have missed
school for some reason, or may just need to
review the notes again.
Back to Opening Page
3
Saving your Smart Board Presentation
1. Turn on recorder and record classroom notes.
(There is a little Smart Board icon at the bottom
of your screen. Left click to get the pop up
menu, choose recorder.) 2. Save file to the
folder you have created for this class. 3.
Compress files using Microsoft Movie Maker. 4.
Save files to web renaming by the same name
followed by comp. (I have found that this works
out best for me so that I know which files I have
compressed and which ones I have not.)
Back to Opening Page
4
Compressing Files
1. Open Windows Movie Maker. 2. Import video
under 1. (The file you saved to the web.) 3.
Drag the clip and drop it on the storyboard at
the bottom of the screen. 4. Save movie clip to
the server under 3. This is where you
rename it. I use the same name with
comp(compressed)behind it under 1.For the web,
no spaces allowed. 5. Choosing a place to save
your movie, click on browse. I link it to the
spot on the web where I have saved everything
else. 6. Next choose a setting. In order for it
to be small enough for my students to access it
from home, I choose the Video for broadband
150Kbps.
Back to Opening Page
5
Linking Files to the Web
1. Open the program PowerPoint. 2. Open the
PowerPoint file located on the web. 3. Type in
the name of the link. I usually name these by
the section number that I am on. 4. Hyperlink
these videos to where you have them saved on the
server.
Back to Opening Page