
Drafting with Auxiliary Views - PowerPoint PPT Presentation
1 / 11
Title:
Drafting with Auxiliary Views
Description:
Drafting with Auxiliary Views Why do we need auxiliary views? To show information that is unavailable in other views To show parts of the object in its true size and ... – PowerPoint PPT presentation
Number of Views:149
Avg rating:3.0/5.0
Title: Drafting with Auxiliary Views
1
Drafting with Auxiliary Views
2
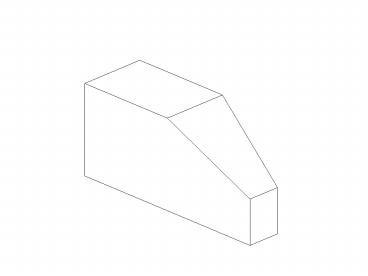
Why do we need auxiliary views?
- To show information that is unavailable in other
views - To show parts of the object in its true size and
shape. (E.g. inclined surfaces)
3
Getting Started
- Examine the views that are given for an inclined
surface - Find the line that is considered the edge view of
the inclined plane - In the front view, draw a light construction line
at right angles to the inclined surface - From all points in the front view, draw
projection lines at right angles to the inclined
surface - Draw a reference/fold line parallel to the edge
view of the inclined surface and at a convenient
distance from it - Transfer the depth dimensions
4
Start by finding the aux. object in true length
(line form)
5
Here the face is shown in true length
6
Draw lines from all critical points that
intersect a line parallel to the face at 90O
7
Find your D lines from the view adjacent to the
view used for the aux.
8
Seeing the finished view
9
Comparing dimensions from different views
10
Checking to see if the object is in true
perspective
11
The Important View
- The most important view is the one that is now in
its true size and shape.
Recommended
CrystalGraphics Presentations


