How to Make Handmade Greeting Cards at Home - PowerPoint PPT Presentation
Title:
How to Make Handmade Greeting Cards at Home
Description:
Start by folding. Take a piece of paper or thick handmade paper sheets from your local crafts store. – PowerPoint PPT presentation
Number of Views:54
Title: How to Make Handmade Greeting Cards at Home
1
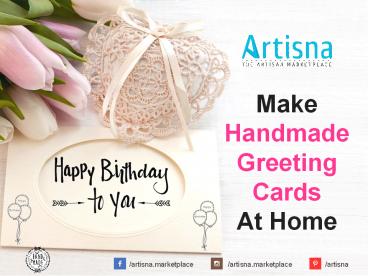
Make Handmade Greeting Cards At Home
2
Bored of readymade store-bought greeting cards?
It is time to make your own greeting cards at
home. Impress your friends and family with your
unique designs that you made from scratch.
www.artisna.com
3
Start by folding. Take a piece of paper or thick
handmade paper sheets from your local crafts
store. You can pick out an A5 or A4 size sheet
that is quite sturdy but can be folded easily.
www.artisna.com
4
Draw borders or margins on the greeting card.
First draw a rough line with a pencil for
reference so that it is more precise when you
draw over it with color or glitter pen.
www.artisna.com
5
Now decide upon the central point of the card. It
could be a pretty shape or a funny sticker or a
photo cutout or anything that is owned by the
recipient
www.artisna.com
6
If you are good at drawing or painting, decorate
around the central piece to make it stand out.
Use glitter and initials or different shapes to
highlight the object of attention.
www.artisna.com
7
Time is now to write down your special message to
the recipient. So pour your heart out and for
that you can take inspiration from the internet
and books owned by the recipient.
www.artisna.com
8
Final touches are in tow once you are done with
the message. So, start with your favorite glitter
pen, sparkles and sequins and tassels and
anything that you find is right to decorate the
greeting card.
www.artisna.com
9
Give all the colors, paints, glitter, glue and
embellishments enough time to dry and set.
www.artisna.com
10
Making an envelope for your handmade greeting
card is easy too. Take a sheet of paper of the
same material, fold three corners of it towards
the center to make a pocket. Now press and stick
them with super glue in a way that the edges are
intact.
www.artisna.com
11
Put your greeting card inside it and end the DIY
by drawing your favorite shapes or adding glitter
or sticking tassels on the envelope. You can even
add colorful paper cutouts or write more fun
messages on the outside of the envelope, and
there you have it, your very own handmade
greeting card!
www.artisna.com
12
E-mail us at info_at_artisna.com
Follow Us


